.jpeg)
Also known as Also known as CNC (Computer Numerical Control), CAD provides the necessary data from design files which Controls cutting as well as marking of material. It is very precise and repeatable. Below are some CNC examples, however we will be focuing on Laser Cutting!
Examples of CNC:
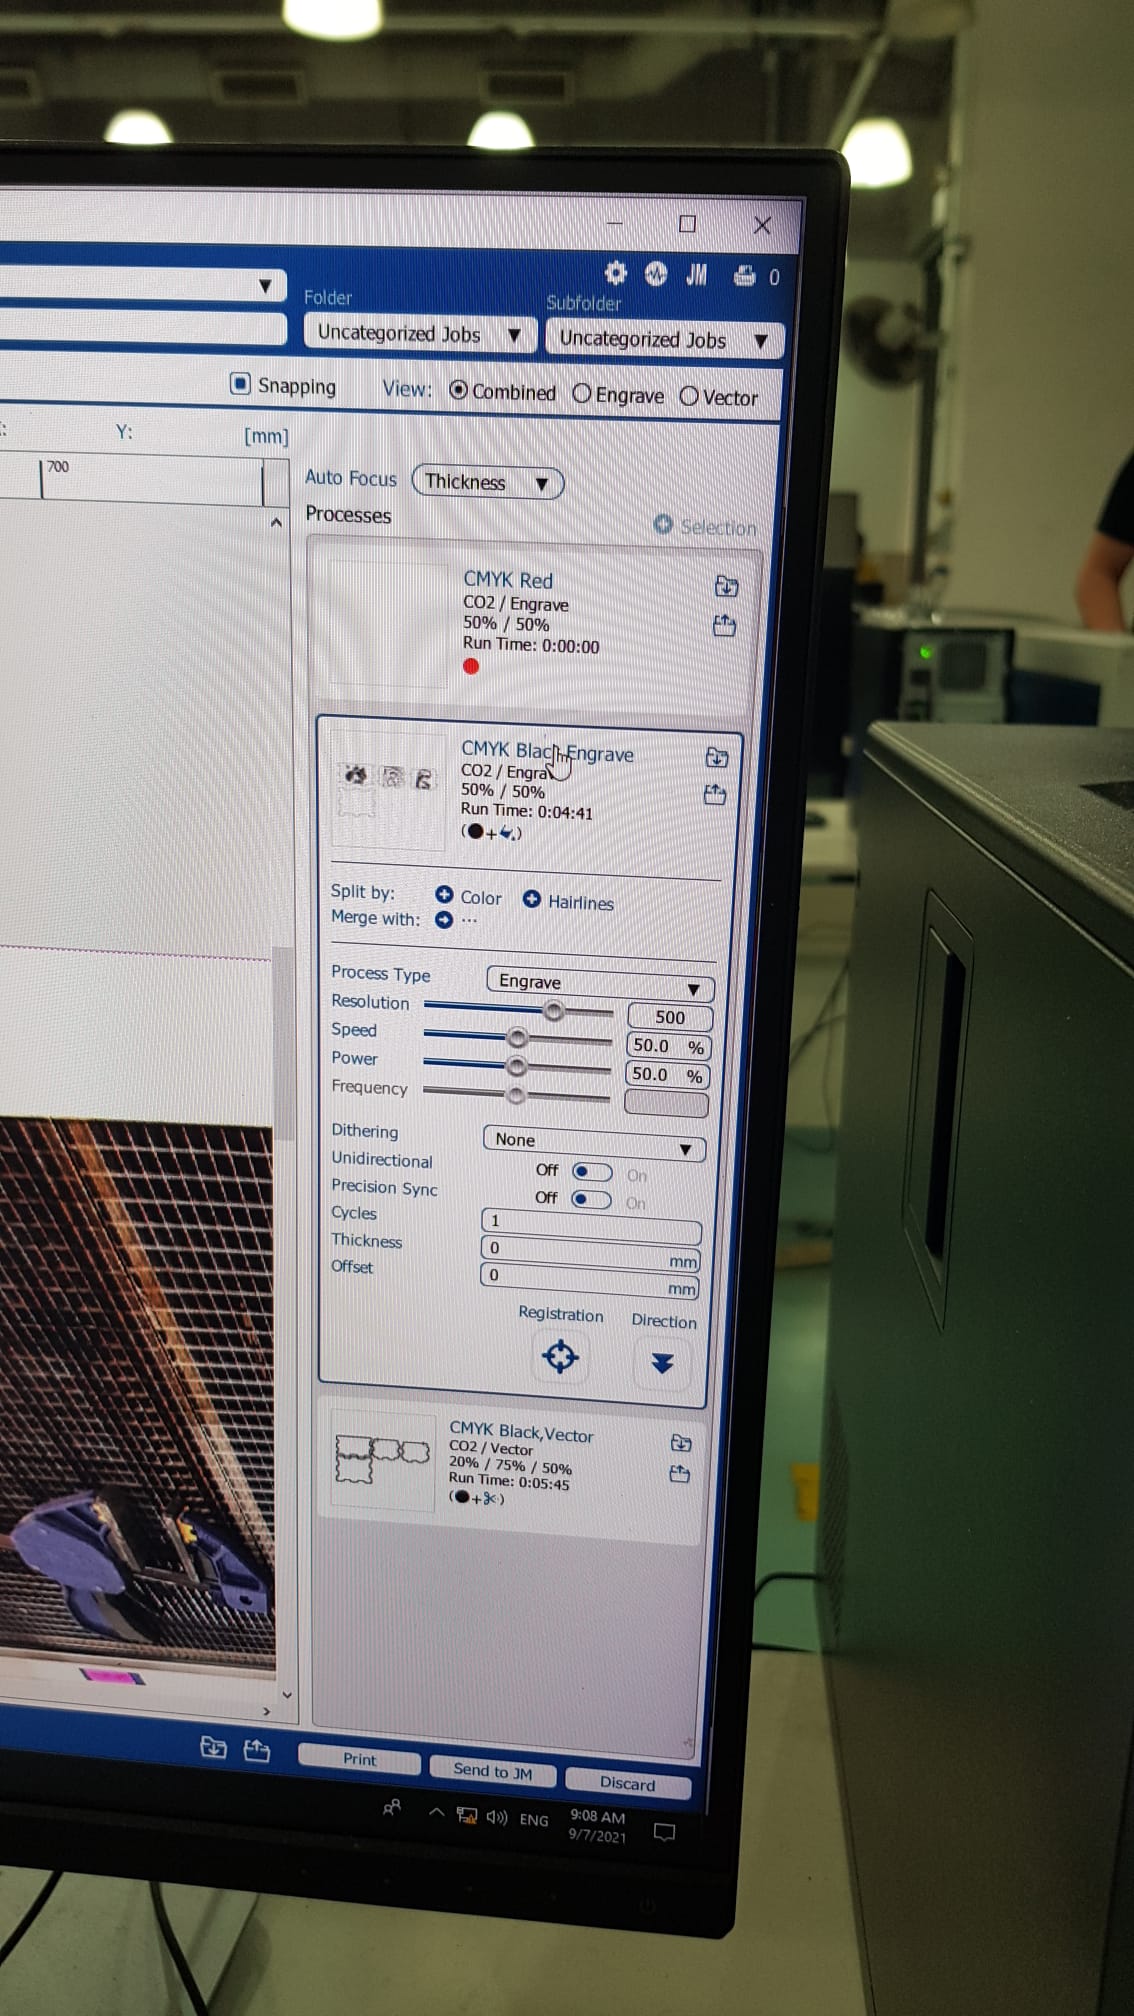
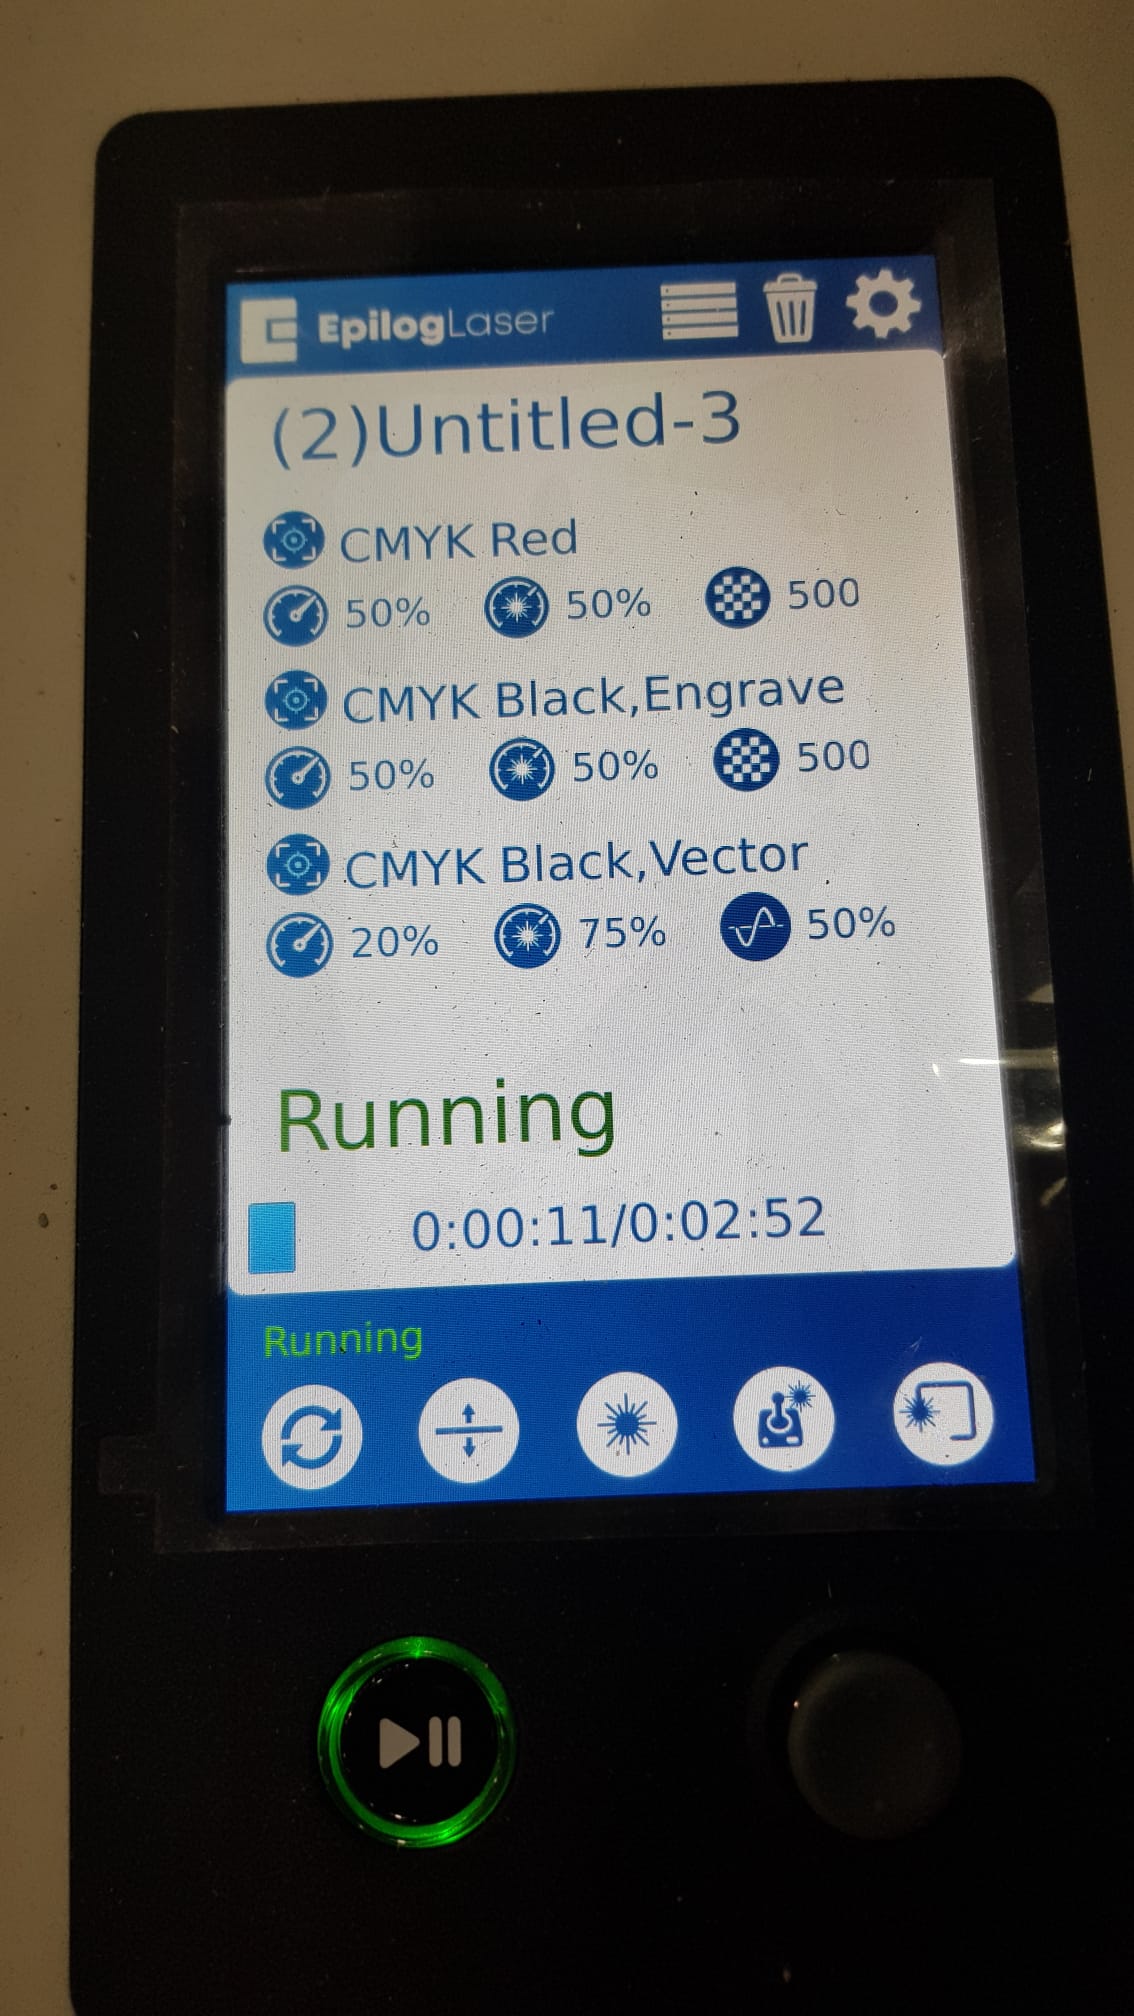
Laser Cutting
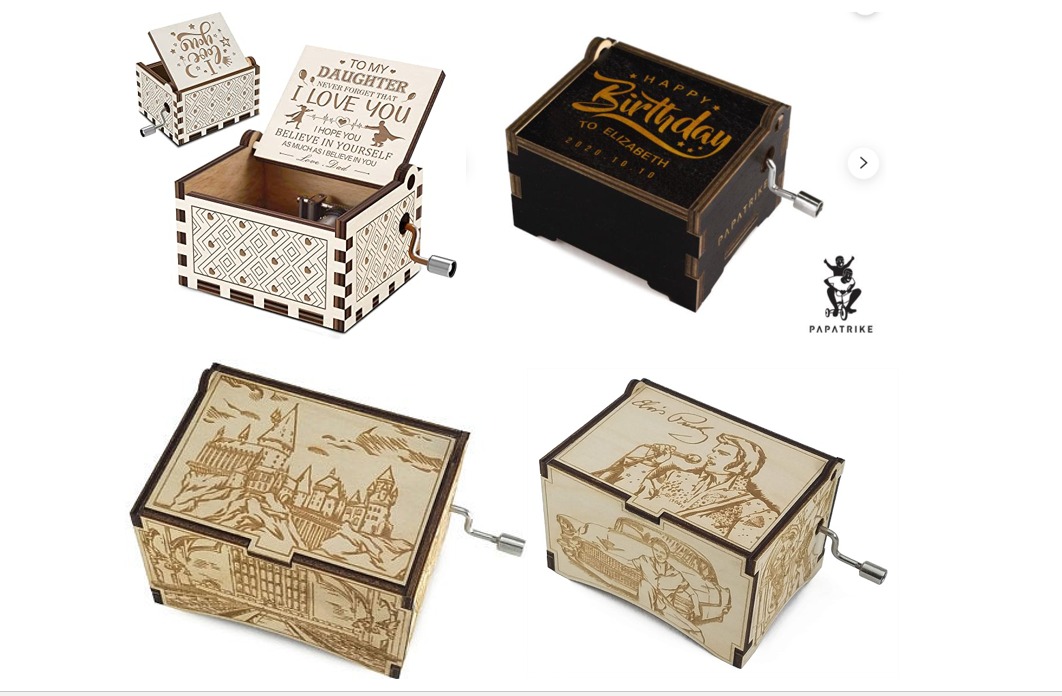
Design a Musical Box piece that :
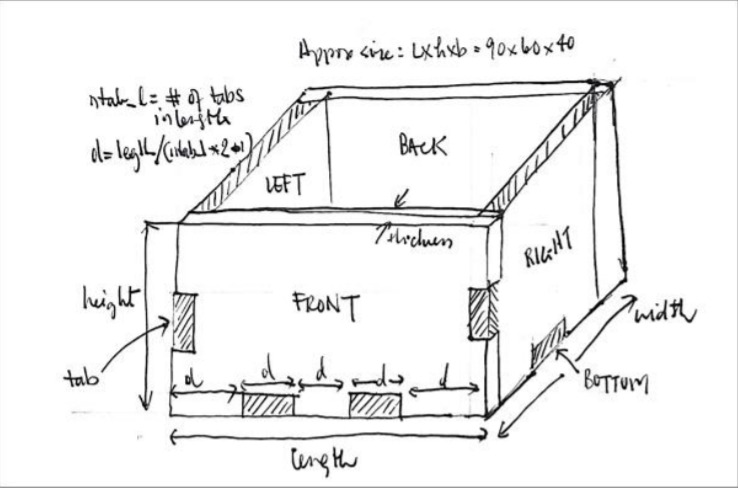
Sketch on paper how your box looks like and the approximate dimensions.
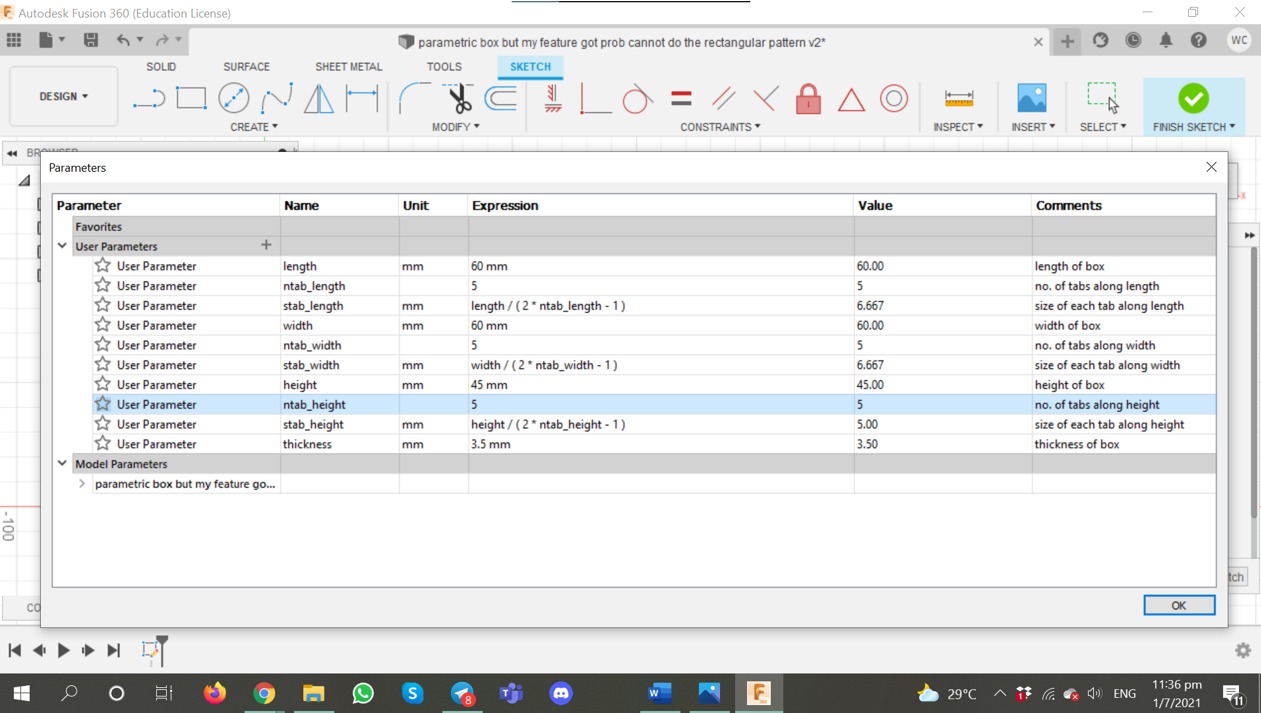
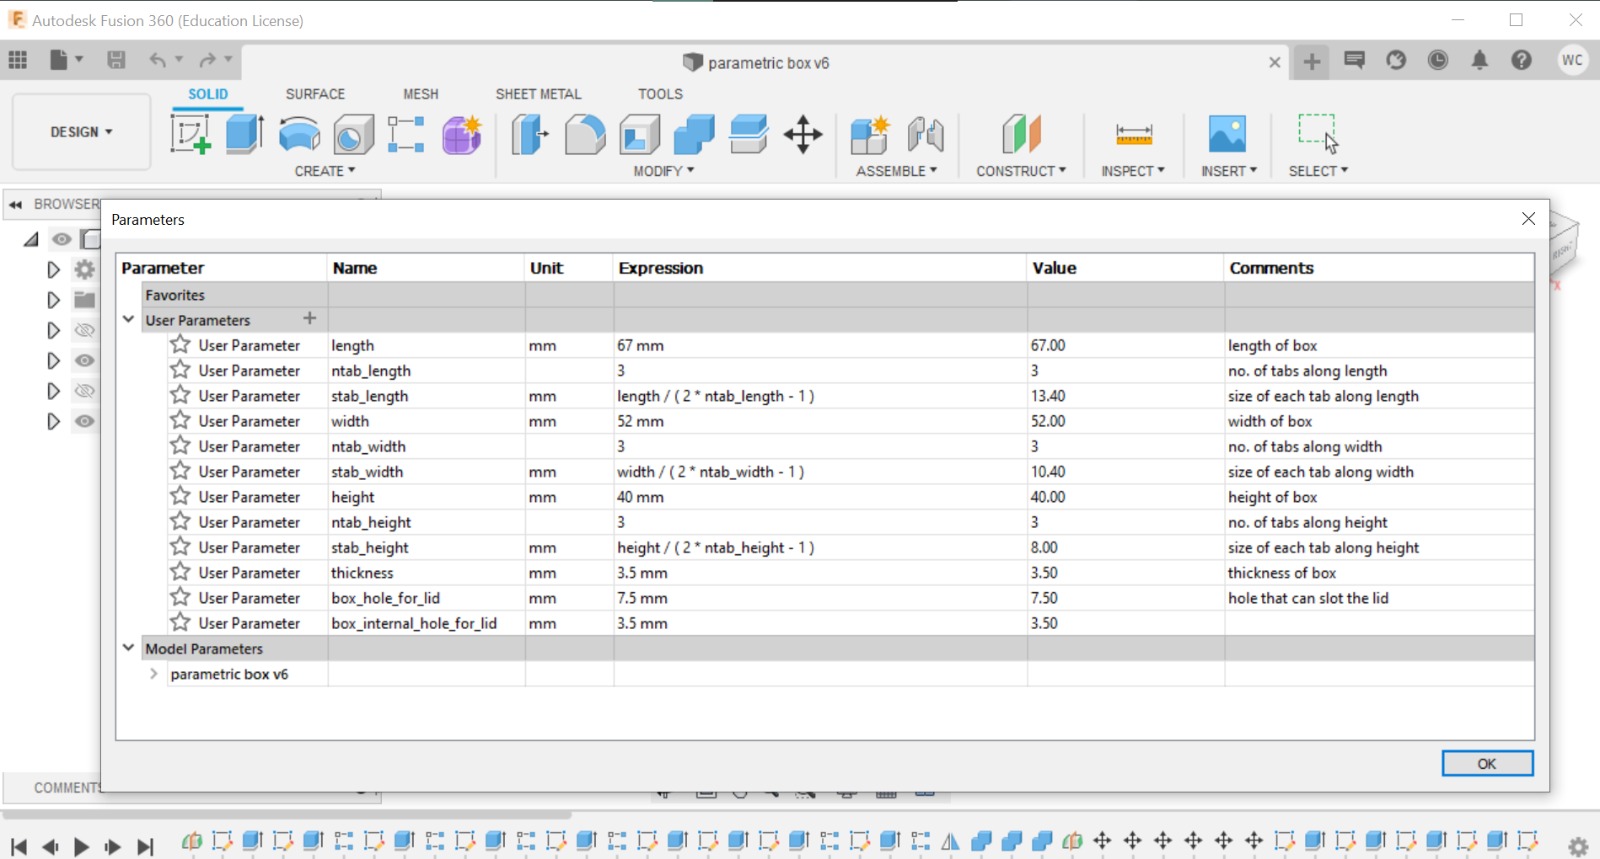
Go to Modify > Change parameters and a table will come up, you can set the length, width, height and thickness of box, as well as no. of tabs along each ___ and the length of each tab.
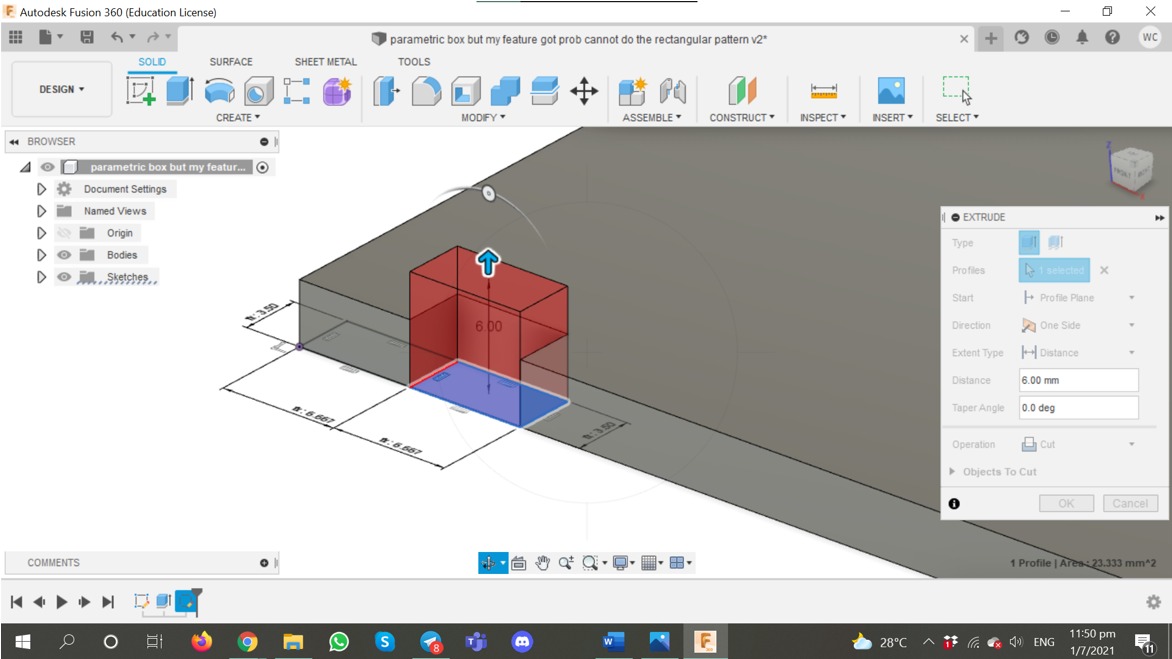
I did the base 1st, Extruded the thickness. Draw the 1st length tab to extrude, then pattern it!
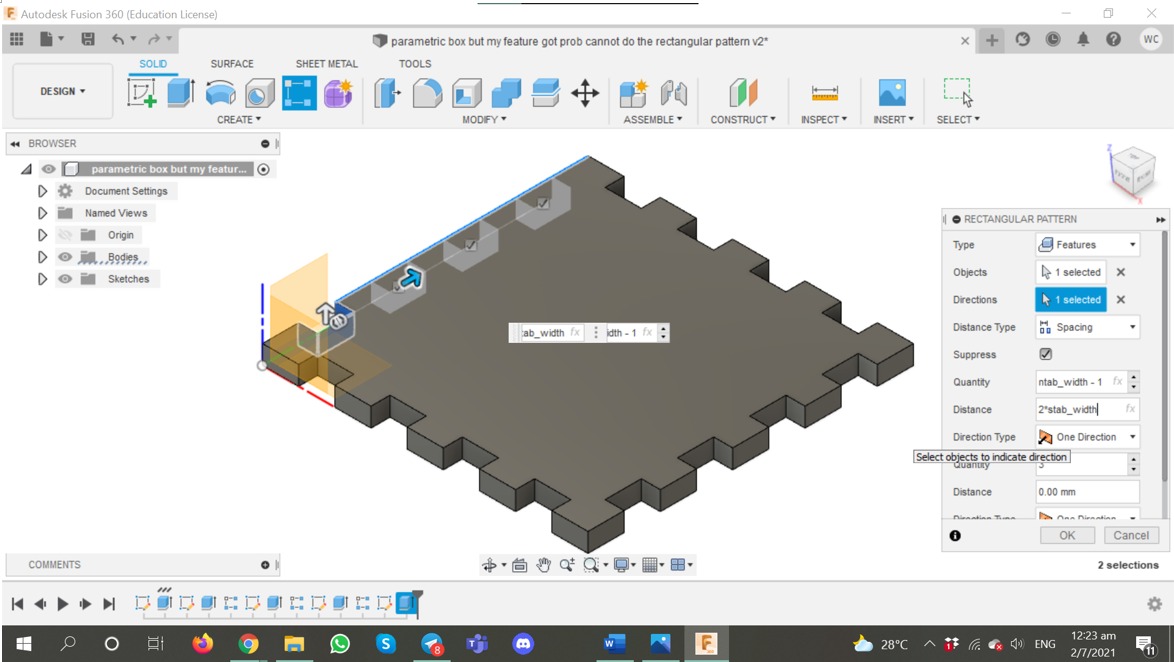
Repeat the steps, and finish up the Base!
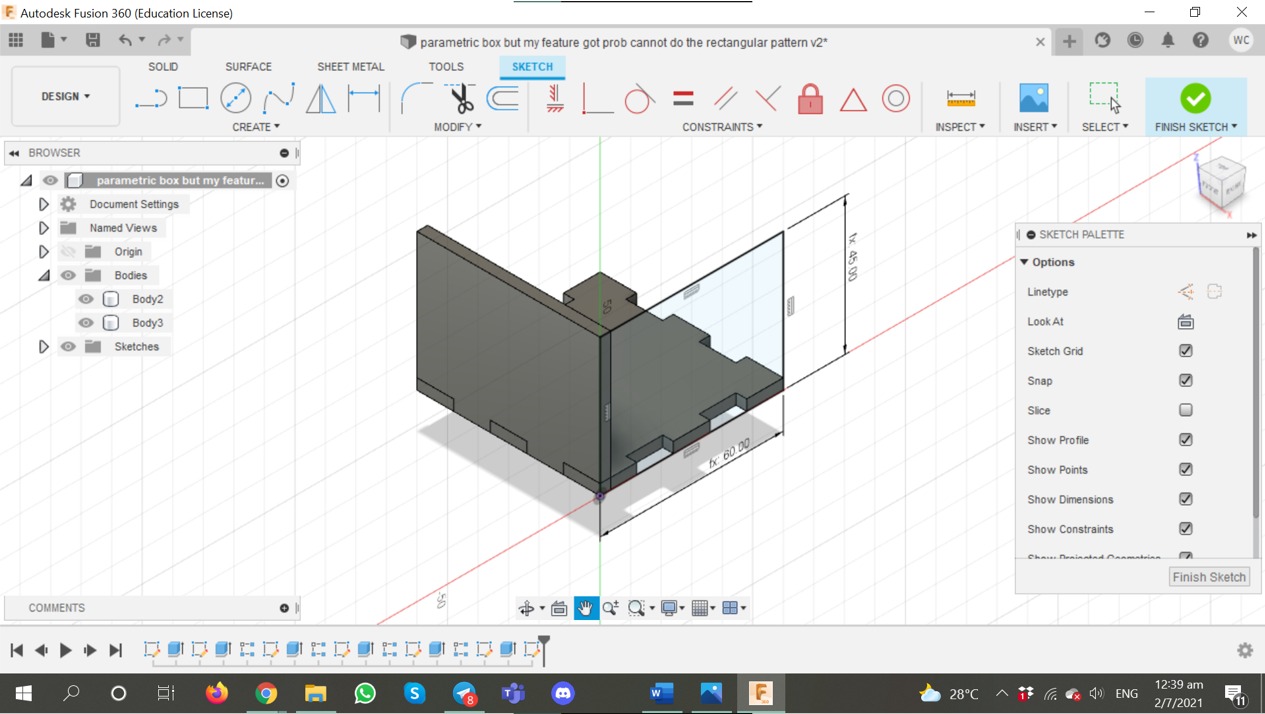
New component > Create sketch and start from the origin. Choose EDGE face of base tab.
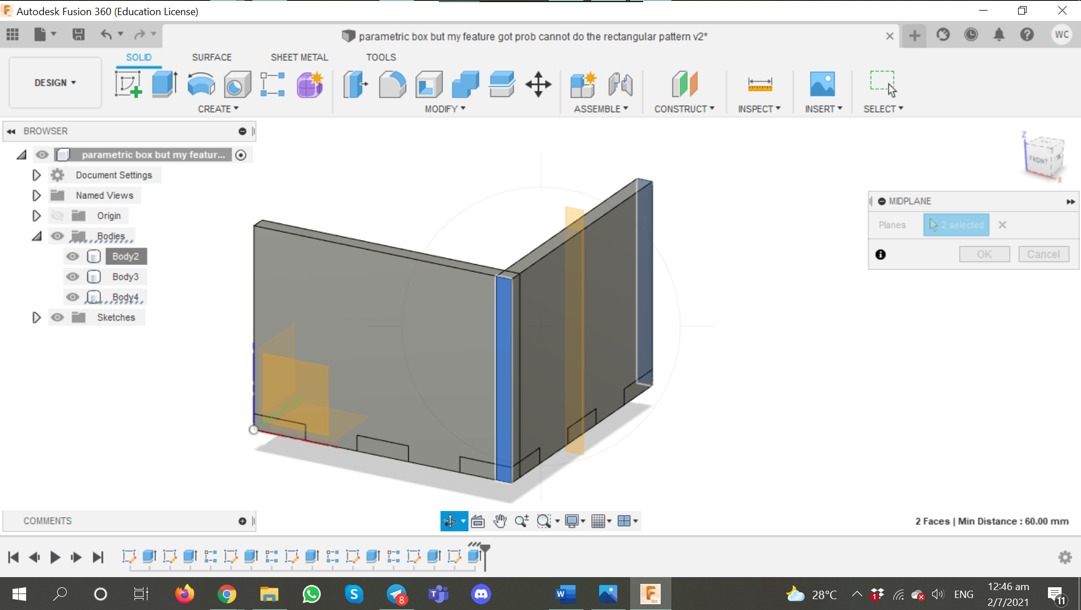
Go to Construct > Midplane, select the 2 sides of the component, and a midplane is create between them. This step is to allow to mirror.
Mirror the front using the midplane, and repeat for left and right sides.
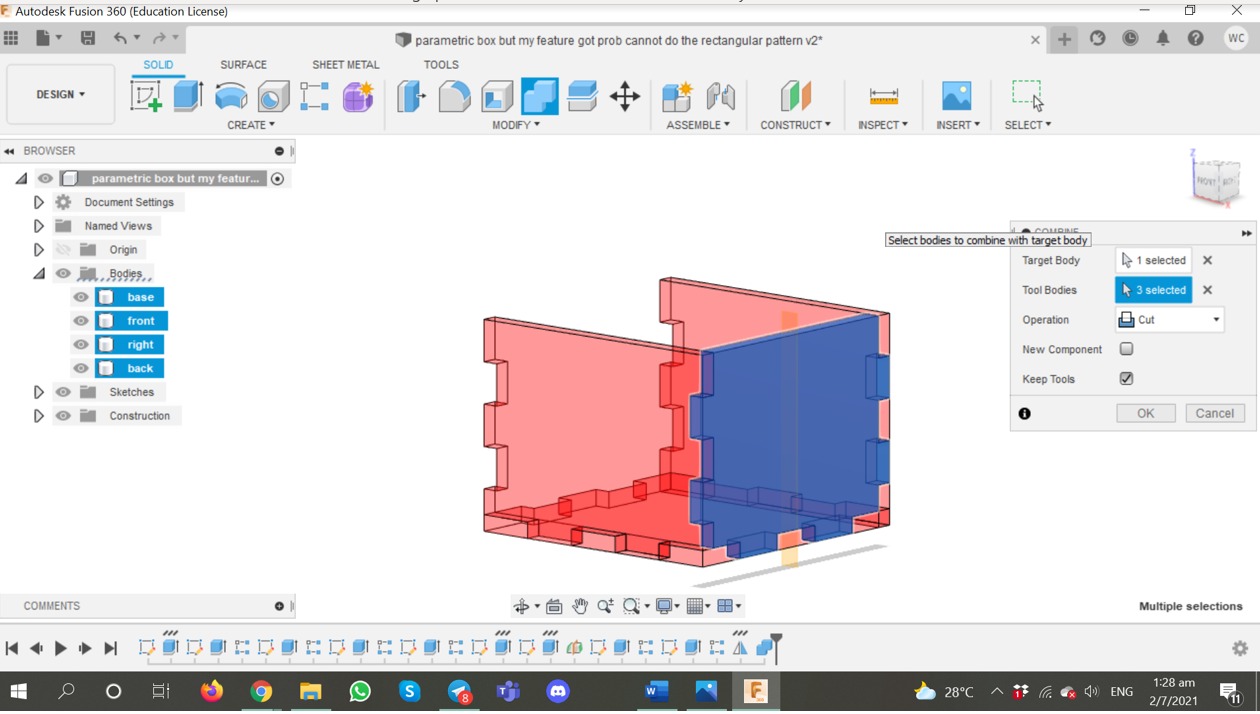
Use the combine tool to create the tabs. Select Target Body as the body that is being cut, and the Tool Bodies as the bodies that will cut the Target Body.
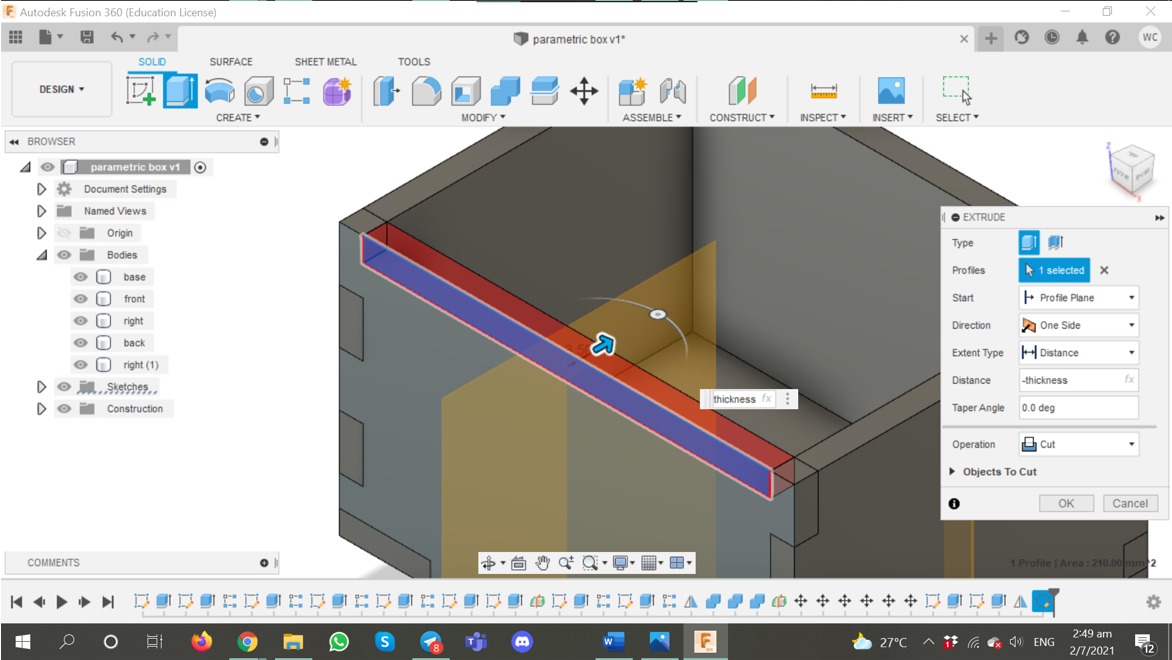
This is for the the lid to rest flush to the left, right, front and back pieces.
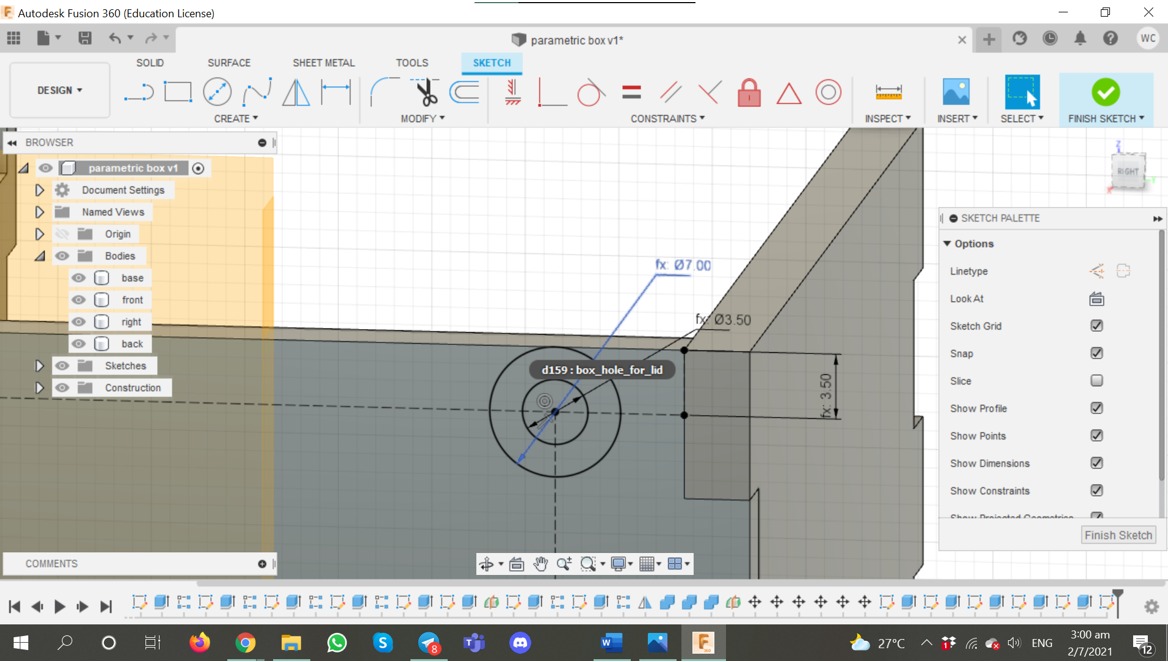
Created new parametirc for the hole dims. Modify > Change Parameters
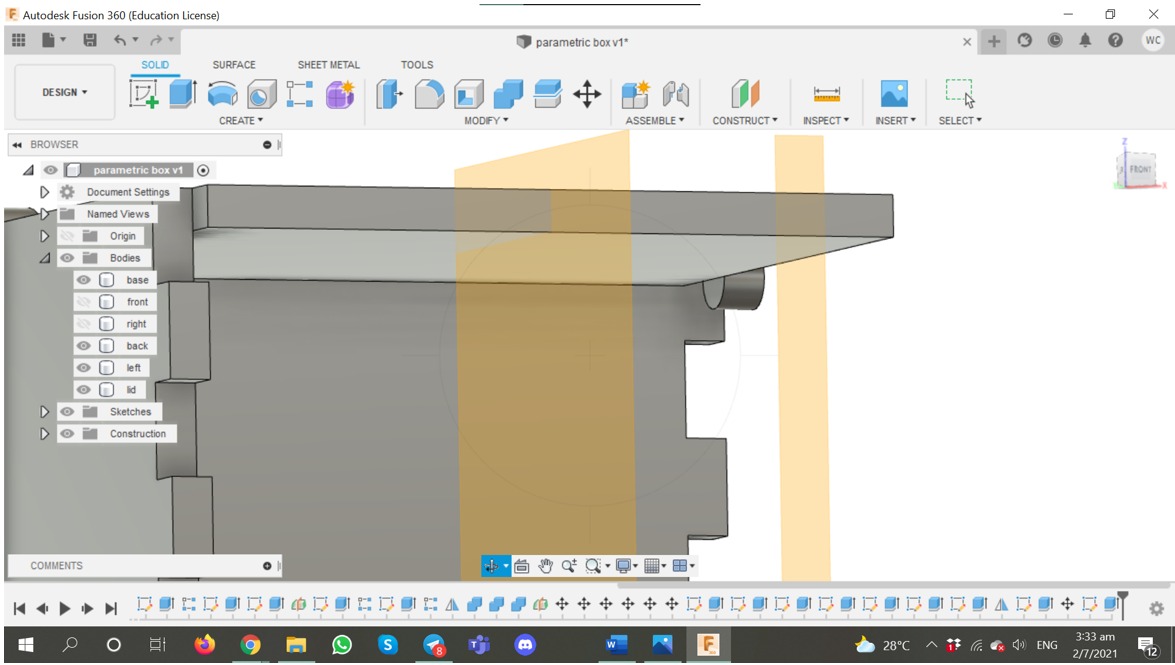
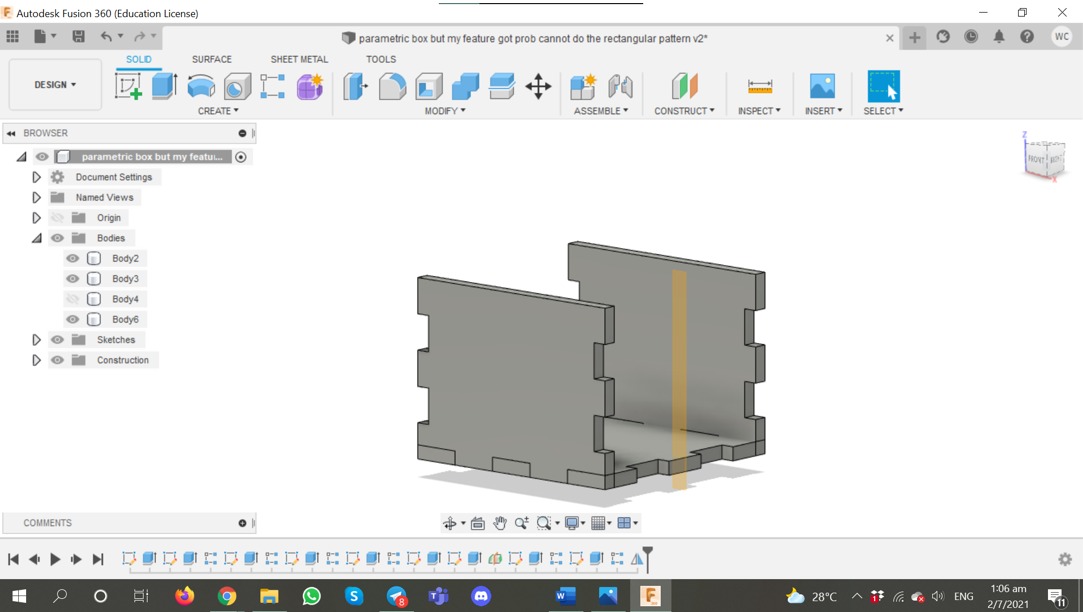
Ill try to create a cylinder and extrude from the lid. Turned off visibility of right body to see better, Theres dis weird dangling part.
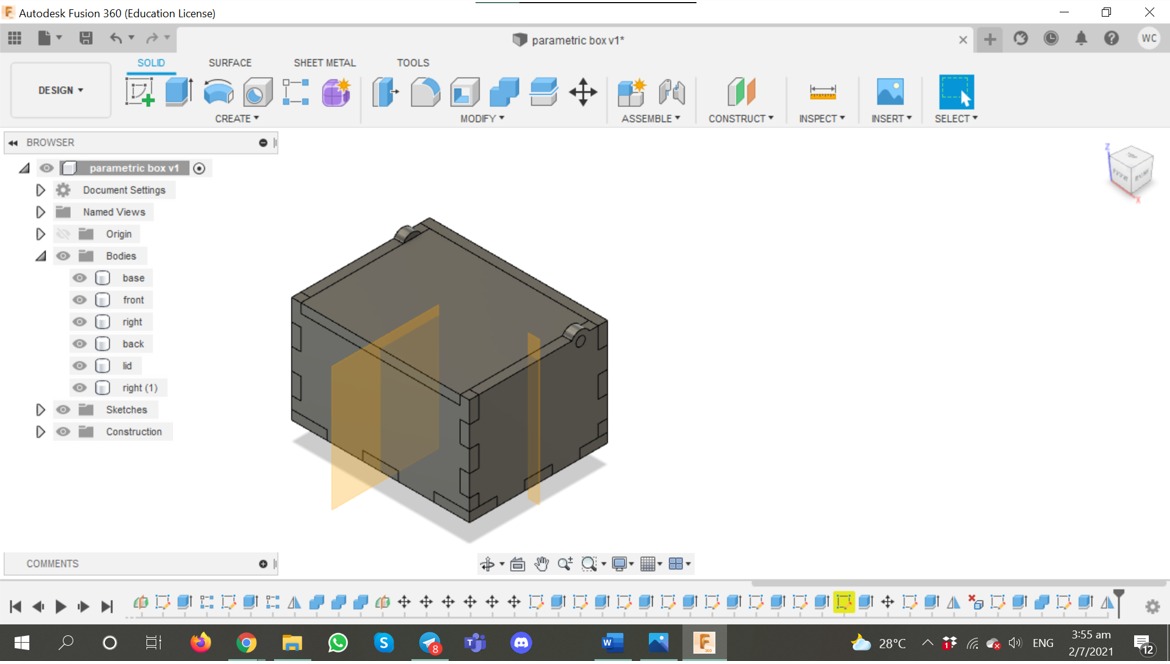
After much struggling and editing it looks good now.
(.ai file)
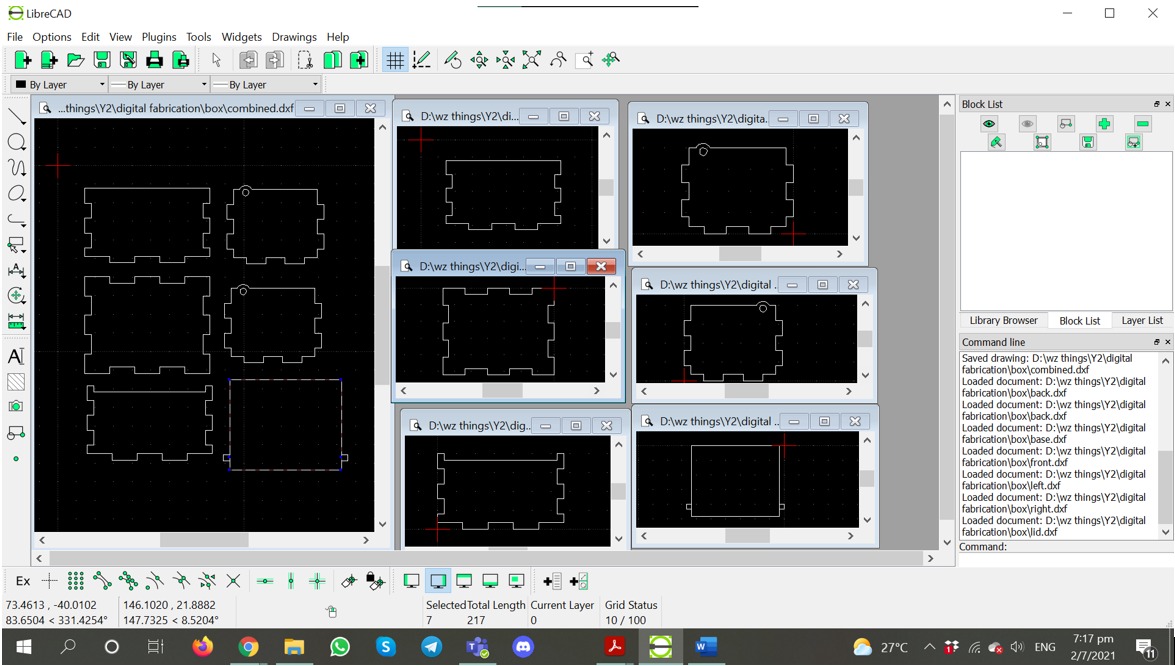
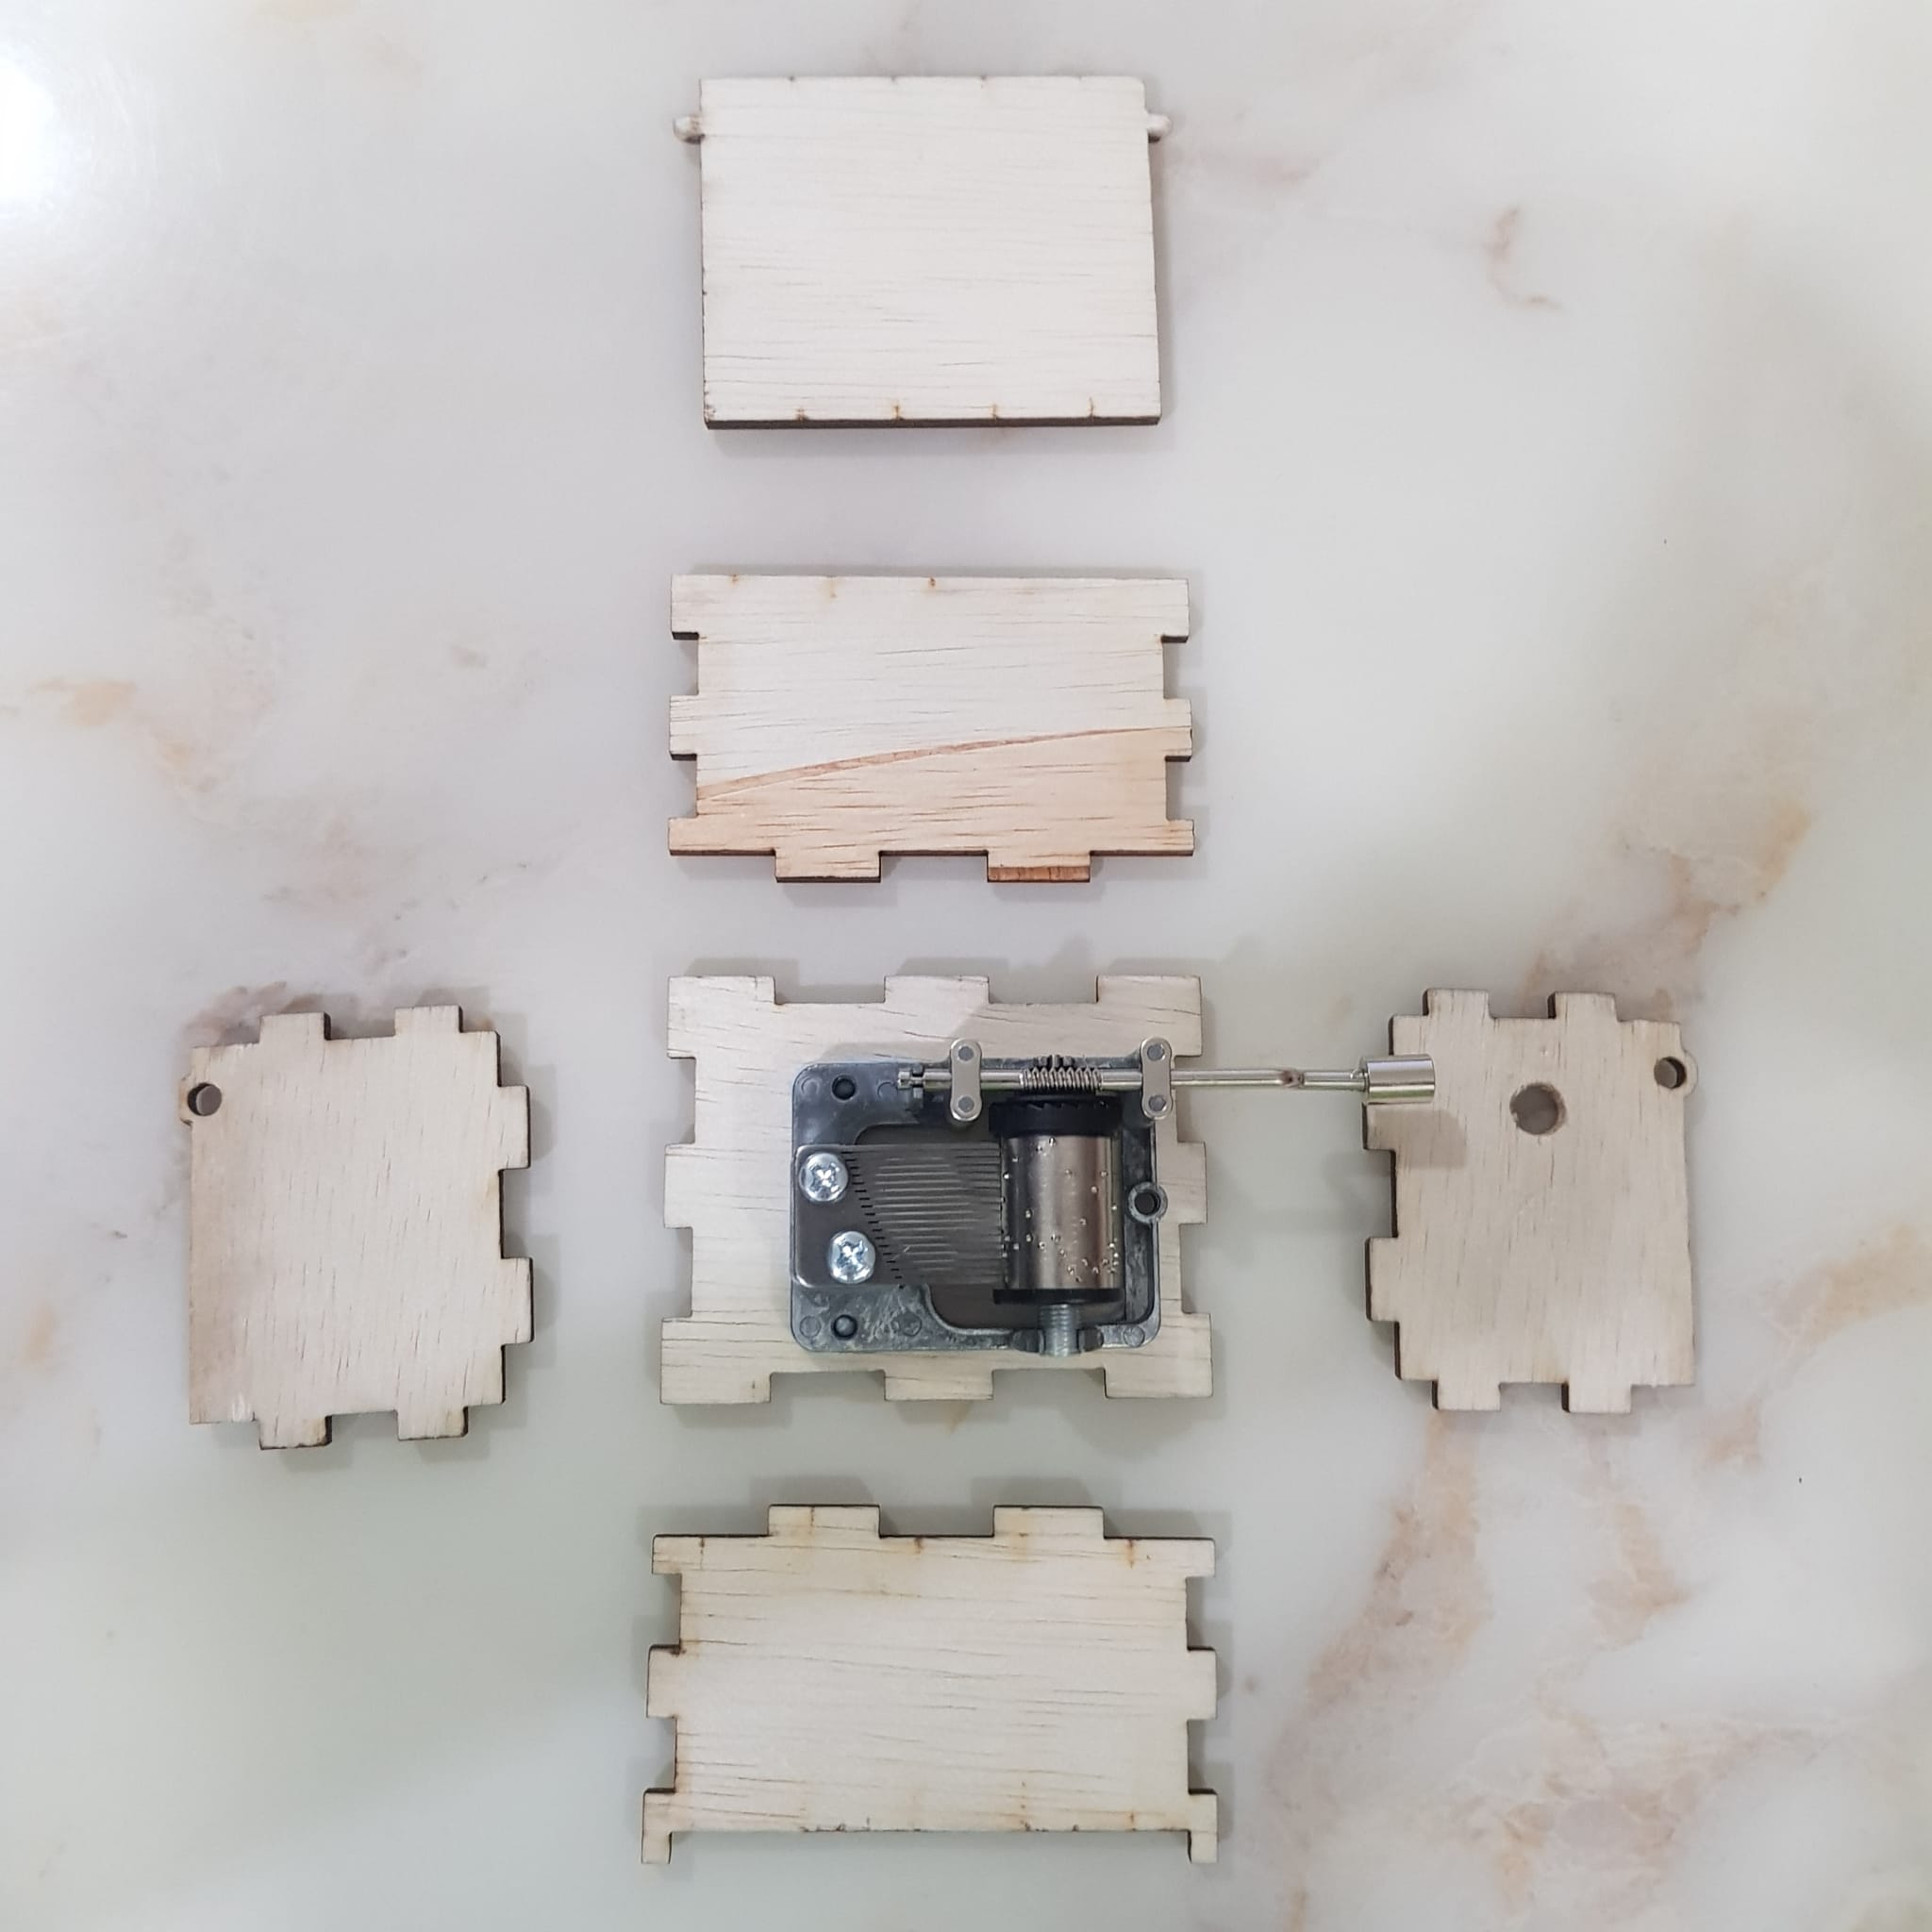
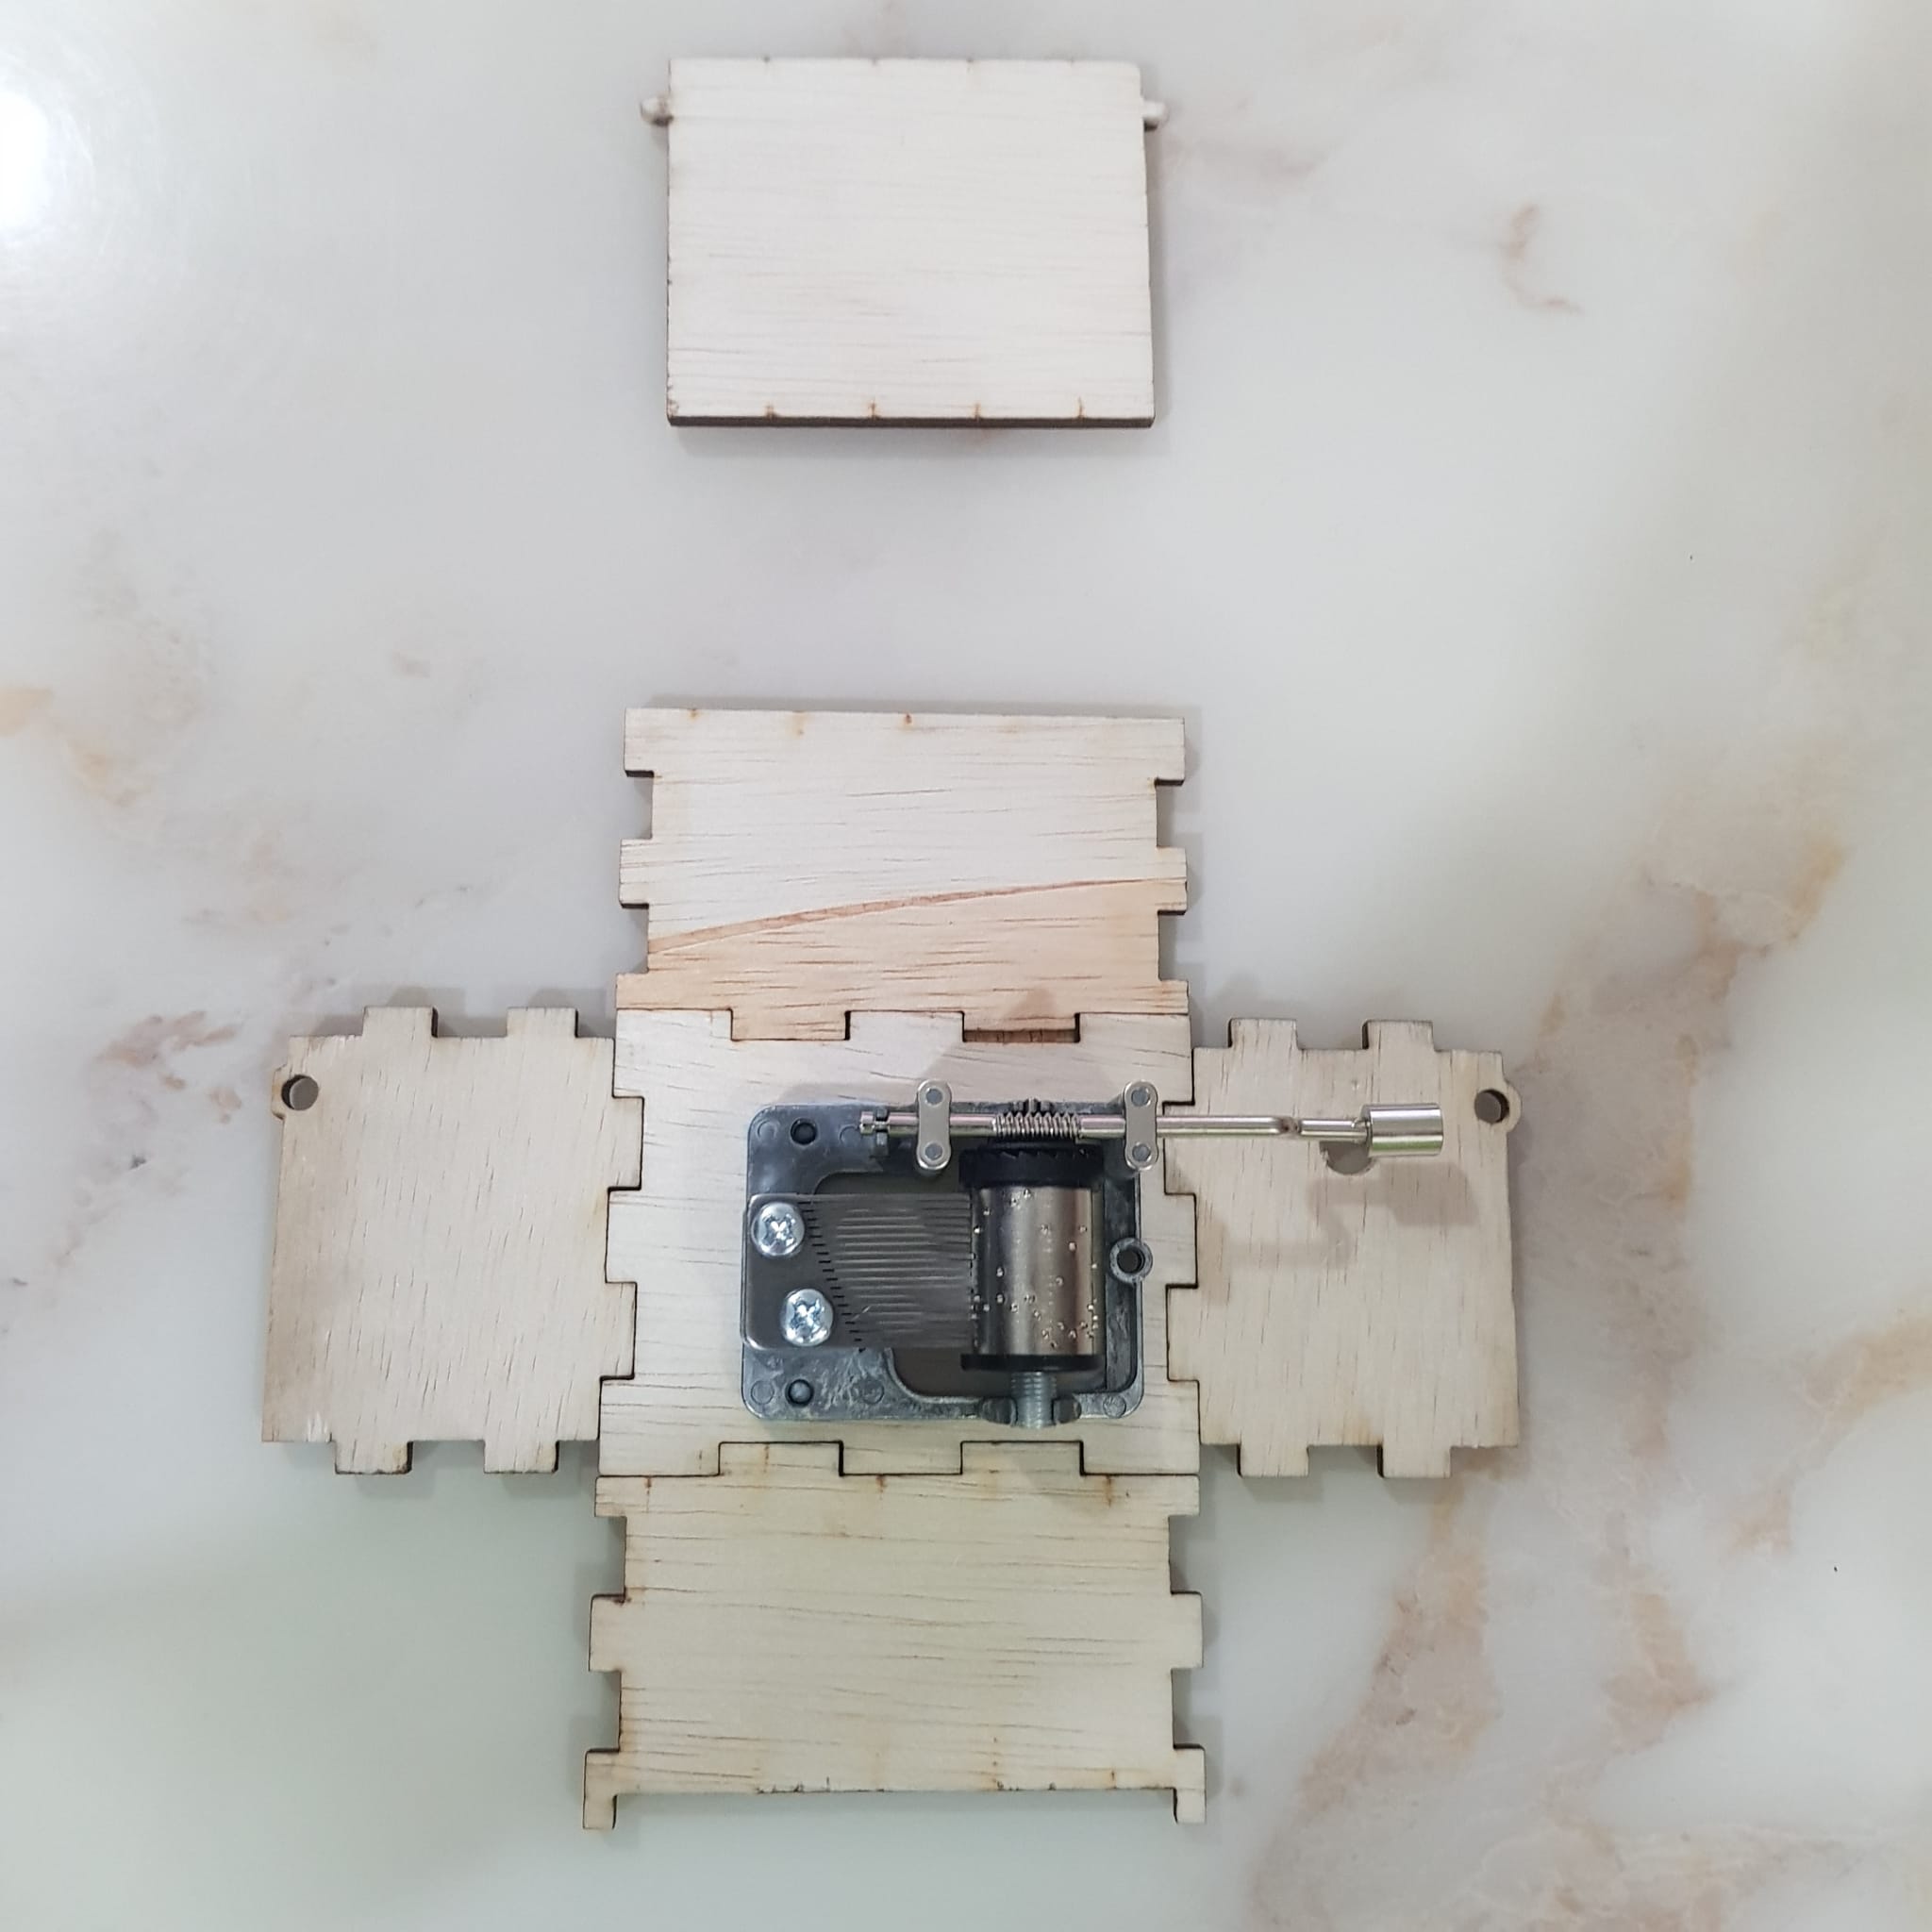
Export individually from fusion -> create sketch > select face> off visibility of other bodies, only the body u wanna export 1st and do it one by one. Open as dxf into libre cad. Note: I had problems exporting the lid into dxf as the pegs at the sides are round, and we cant laser cut round stuff, so I had to change them to squares.
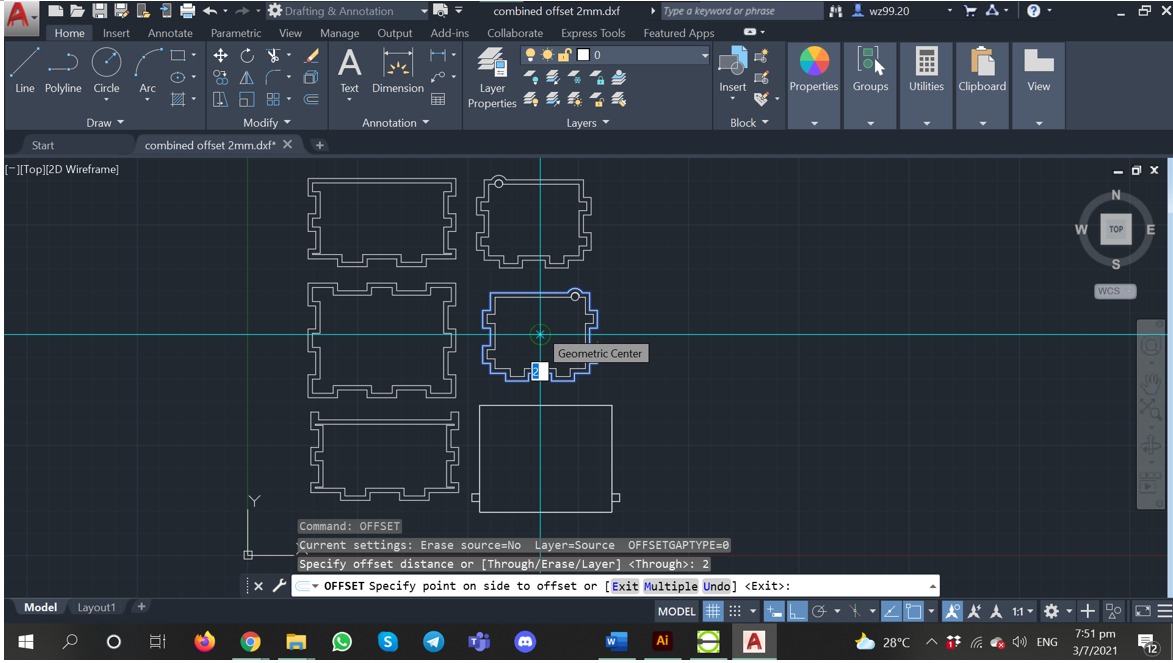
After that i brough it to AutoCAD to off set the borders to 2mm, as it was looking abit plain.
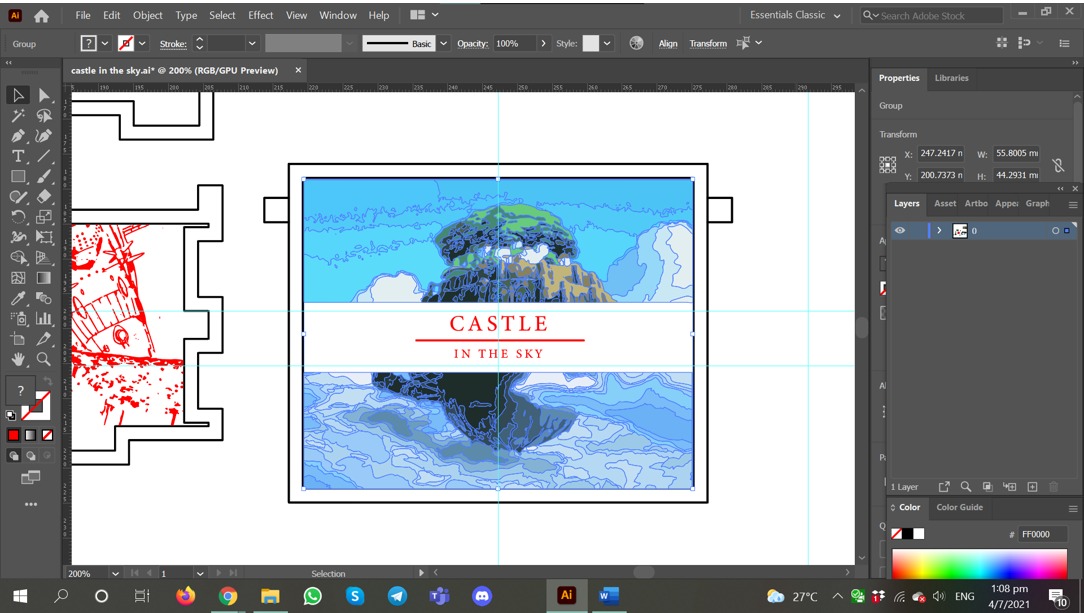
Image trace > Expand, ad delete unwanted areas
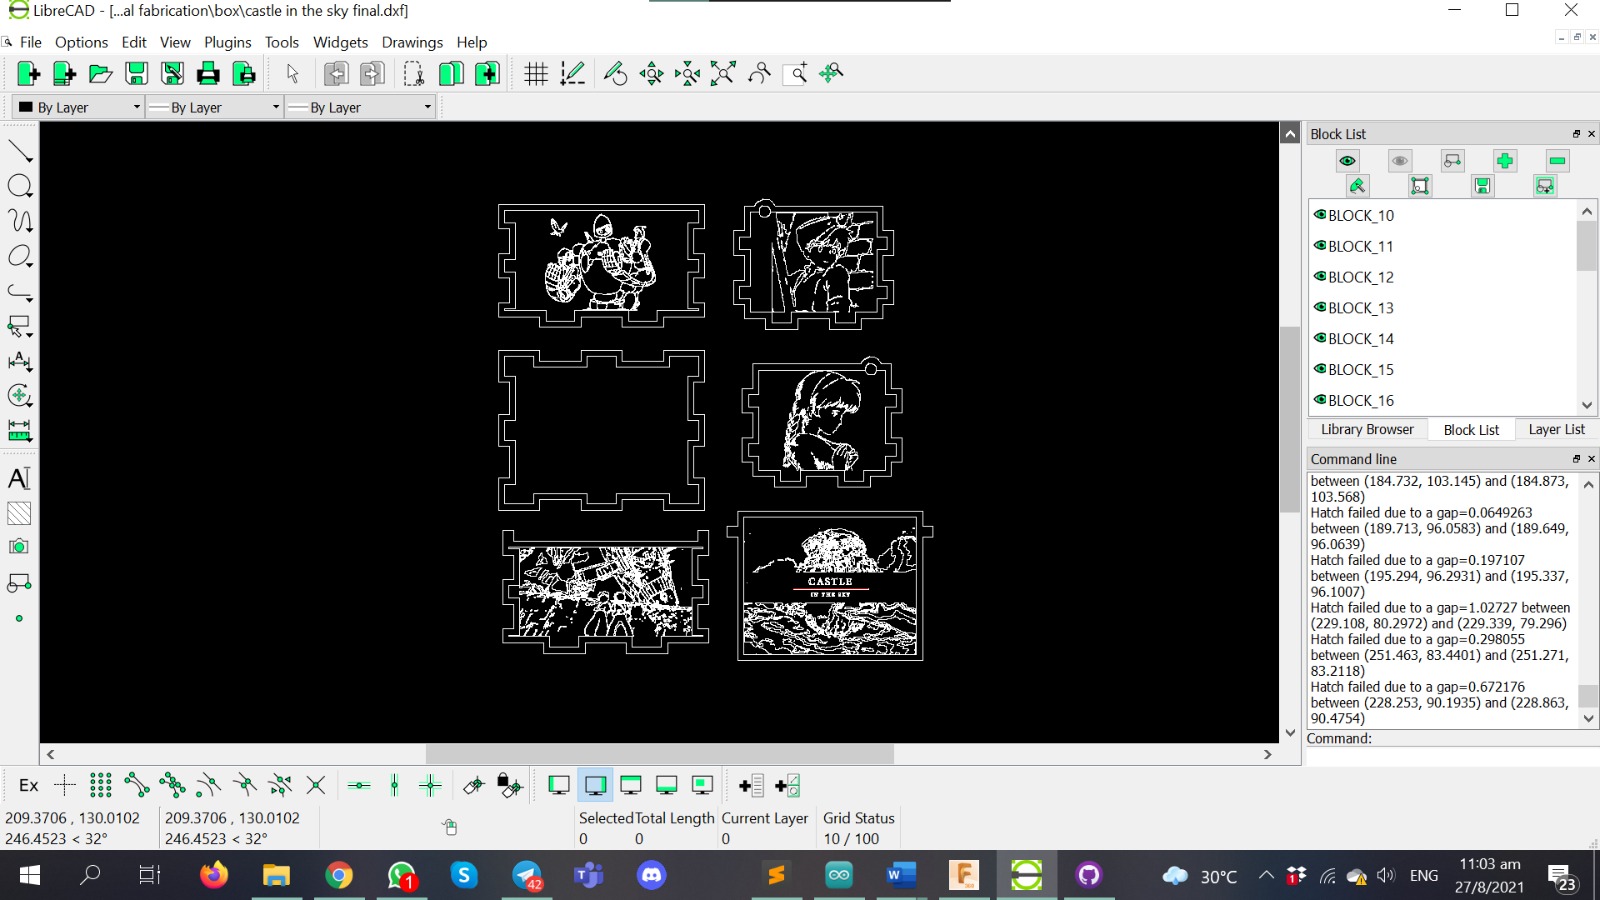
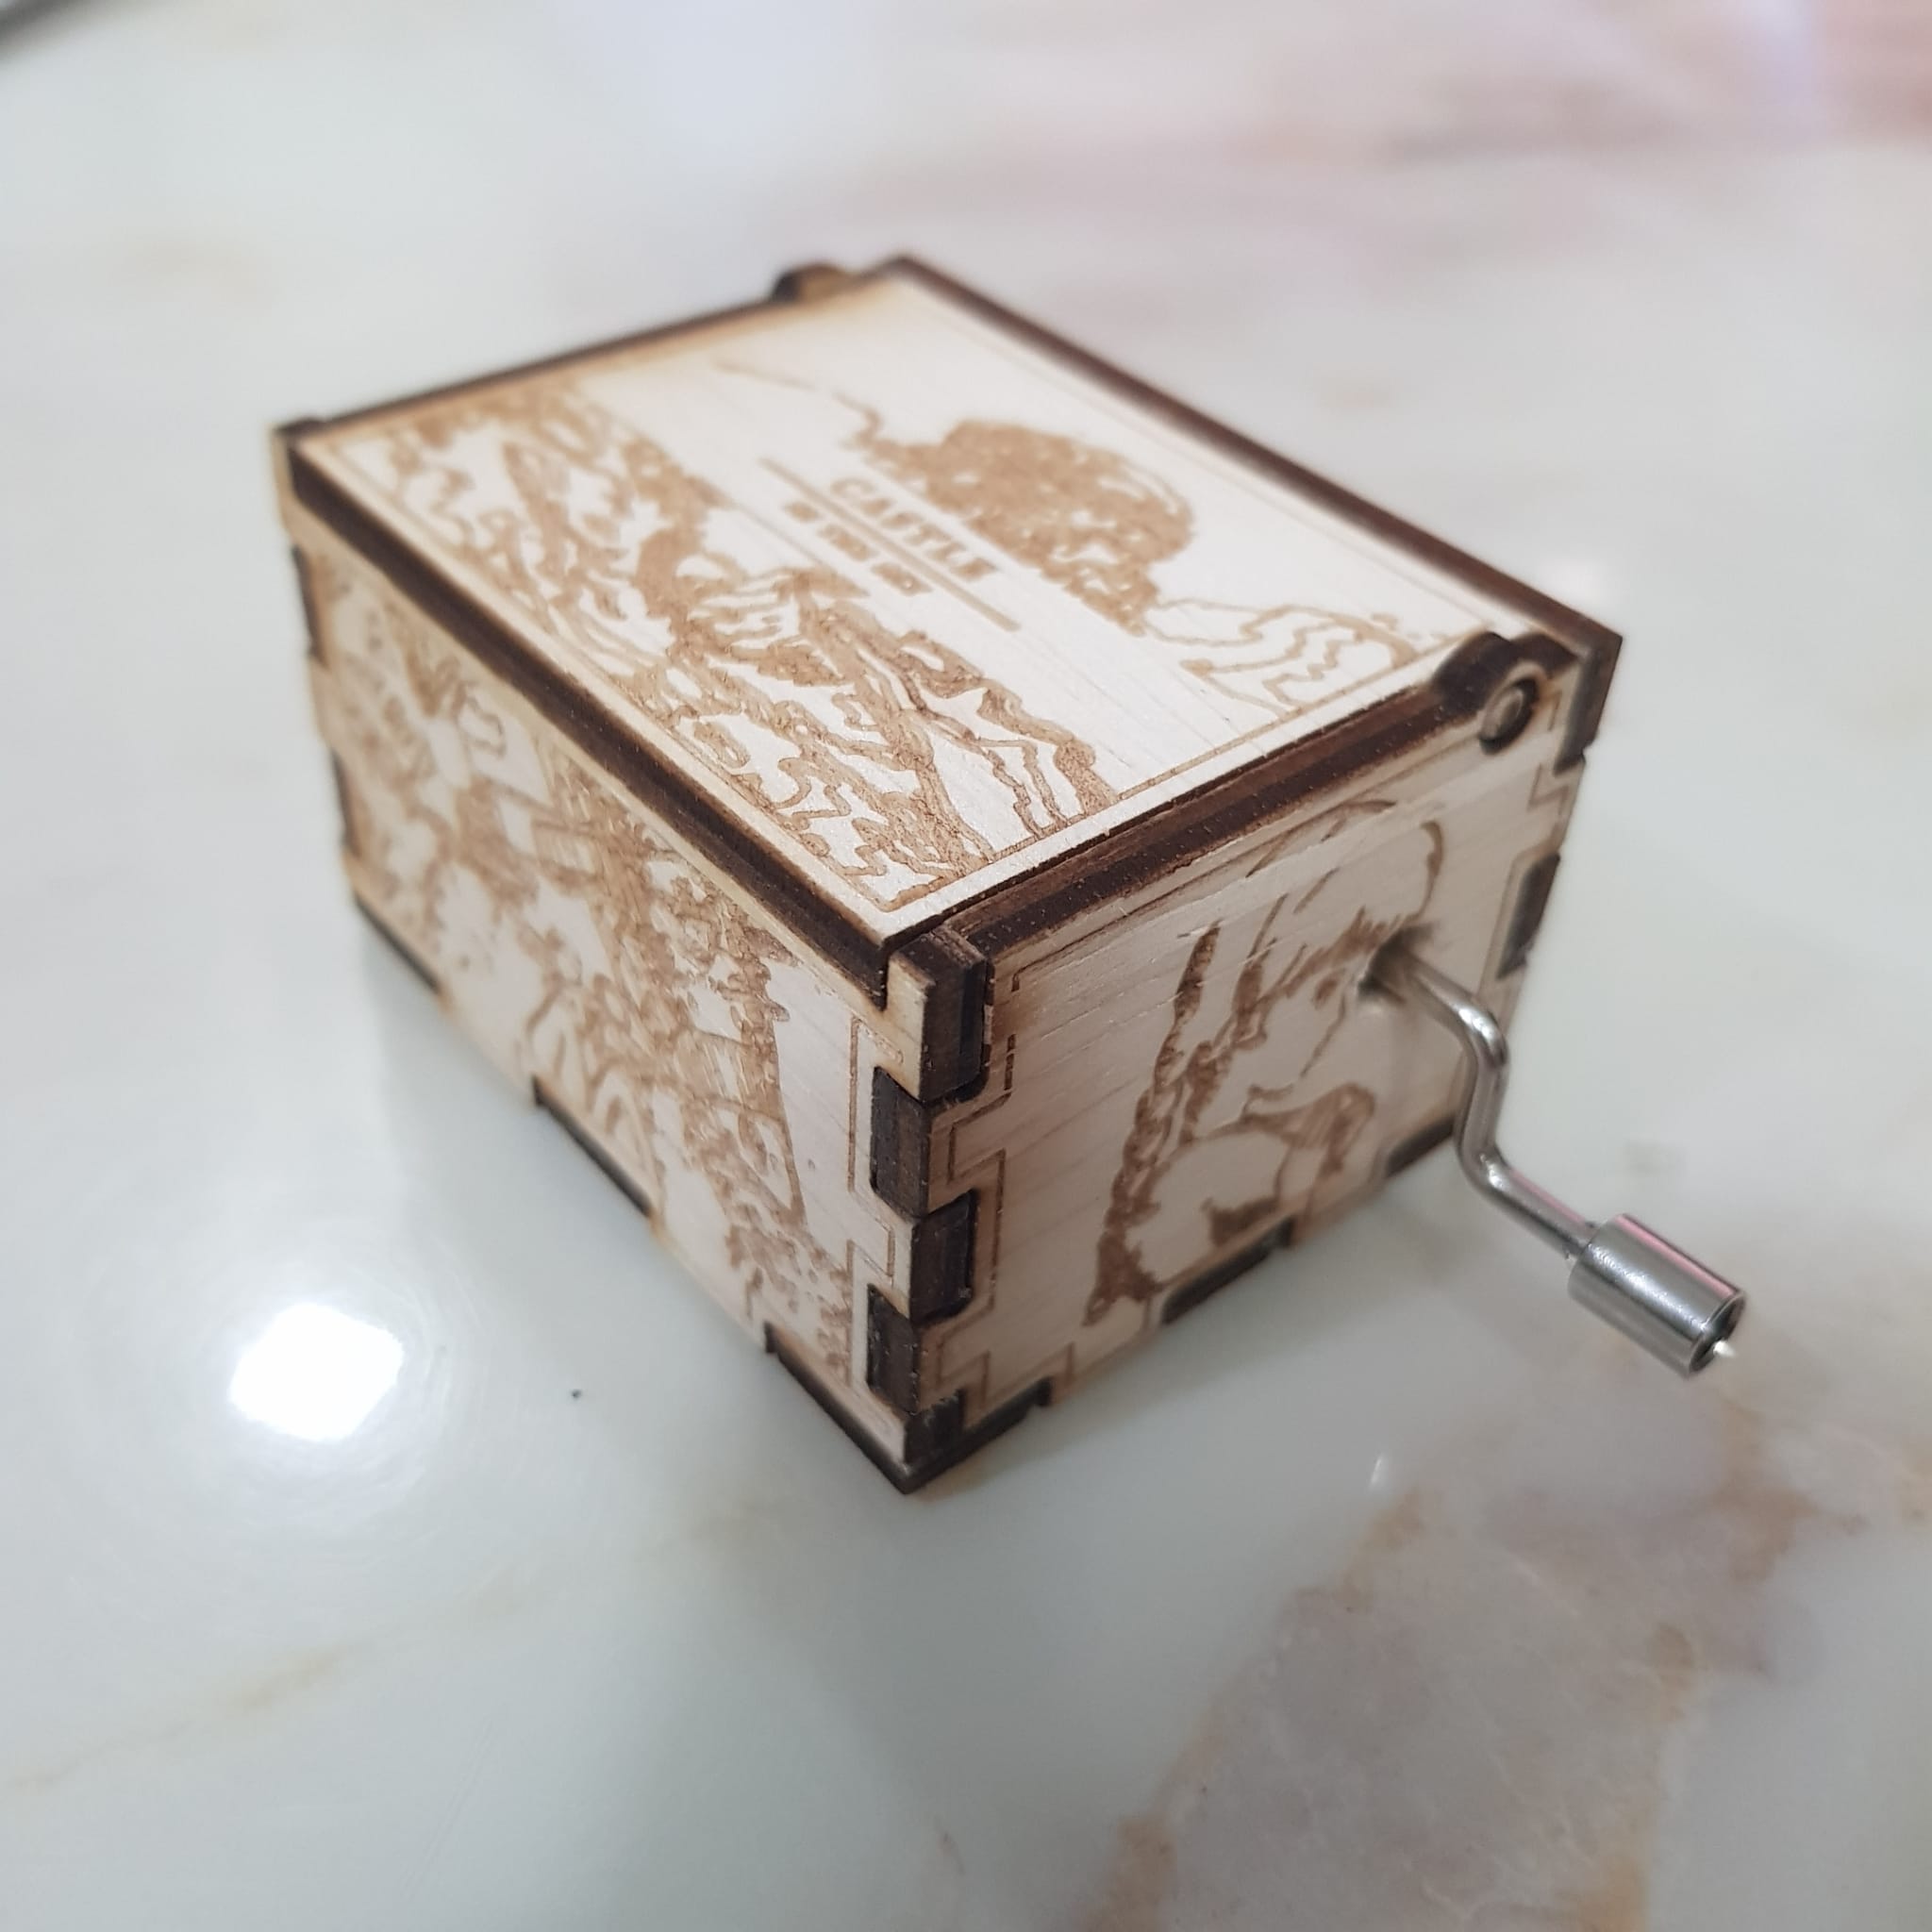
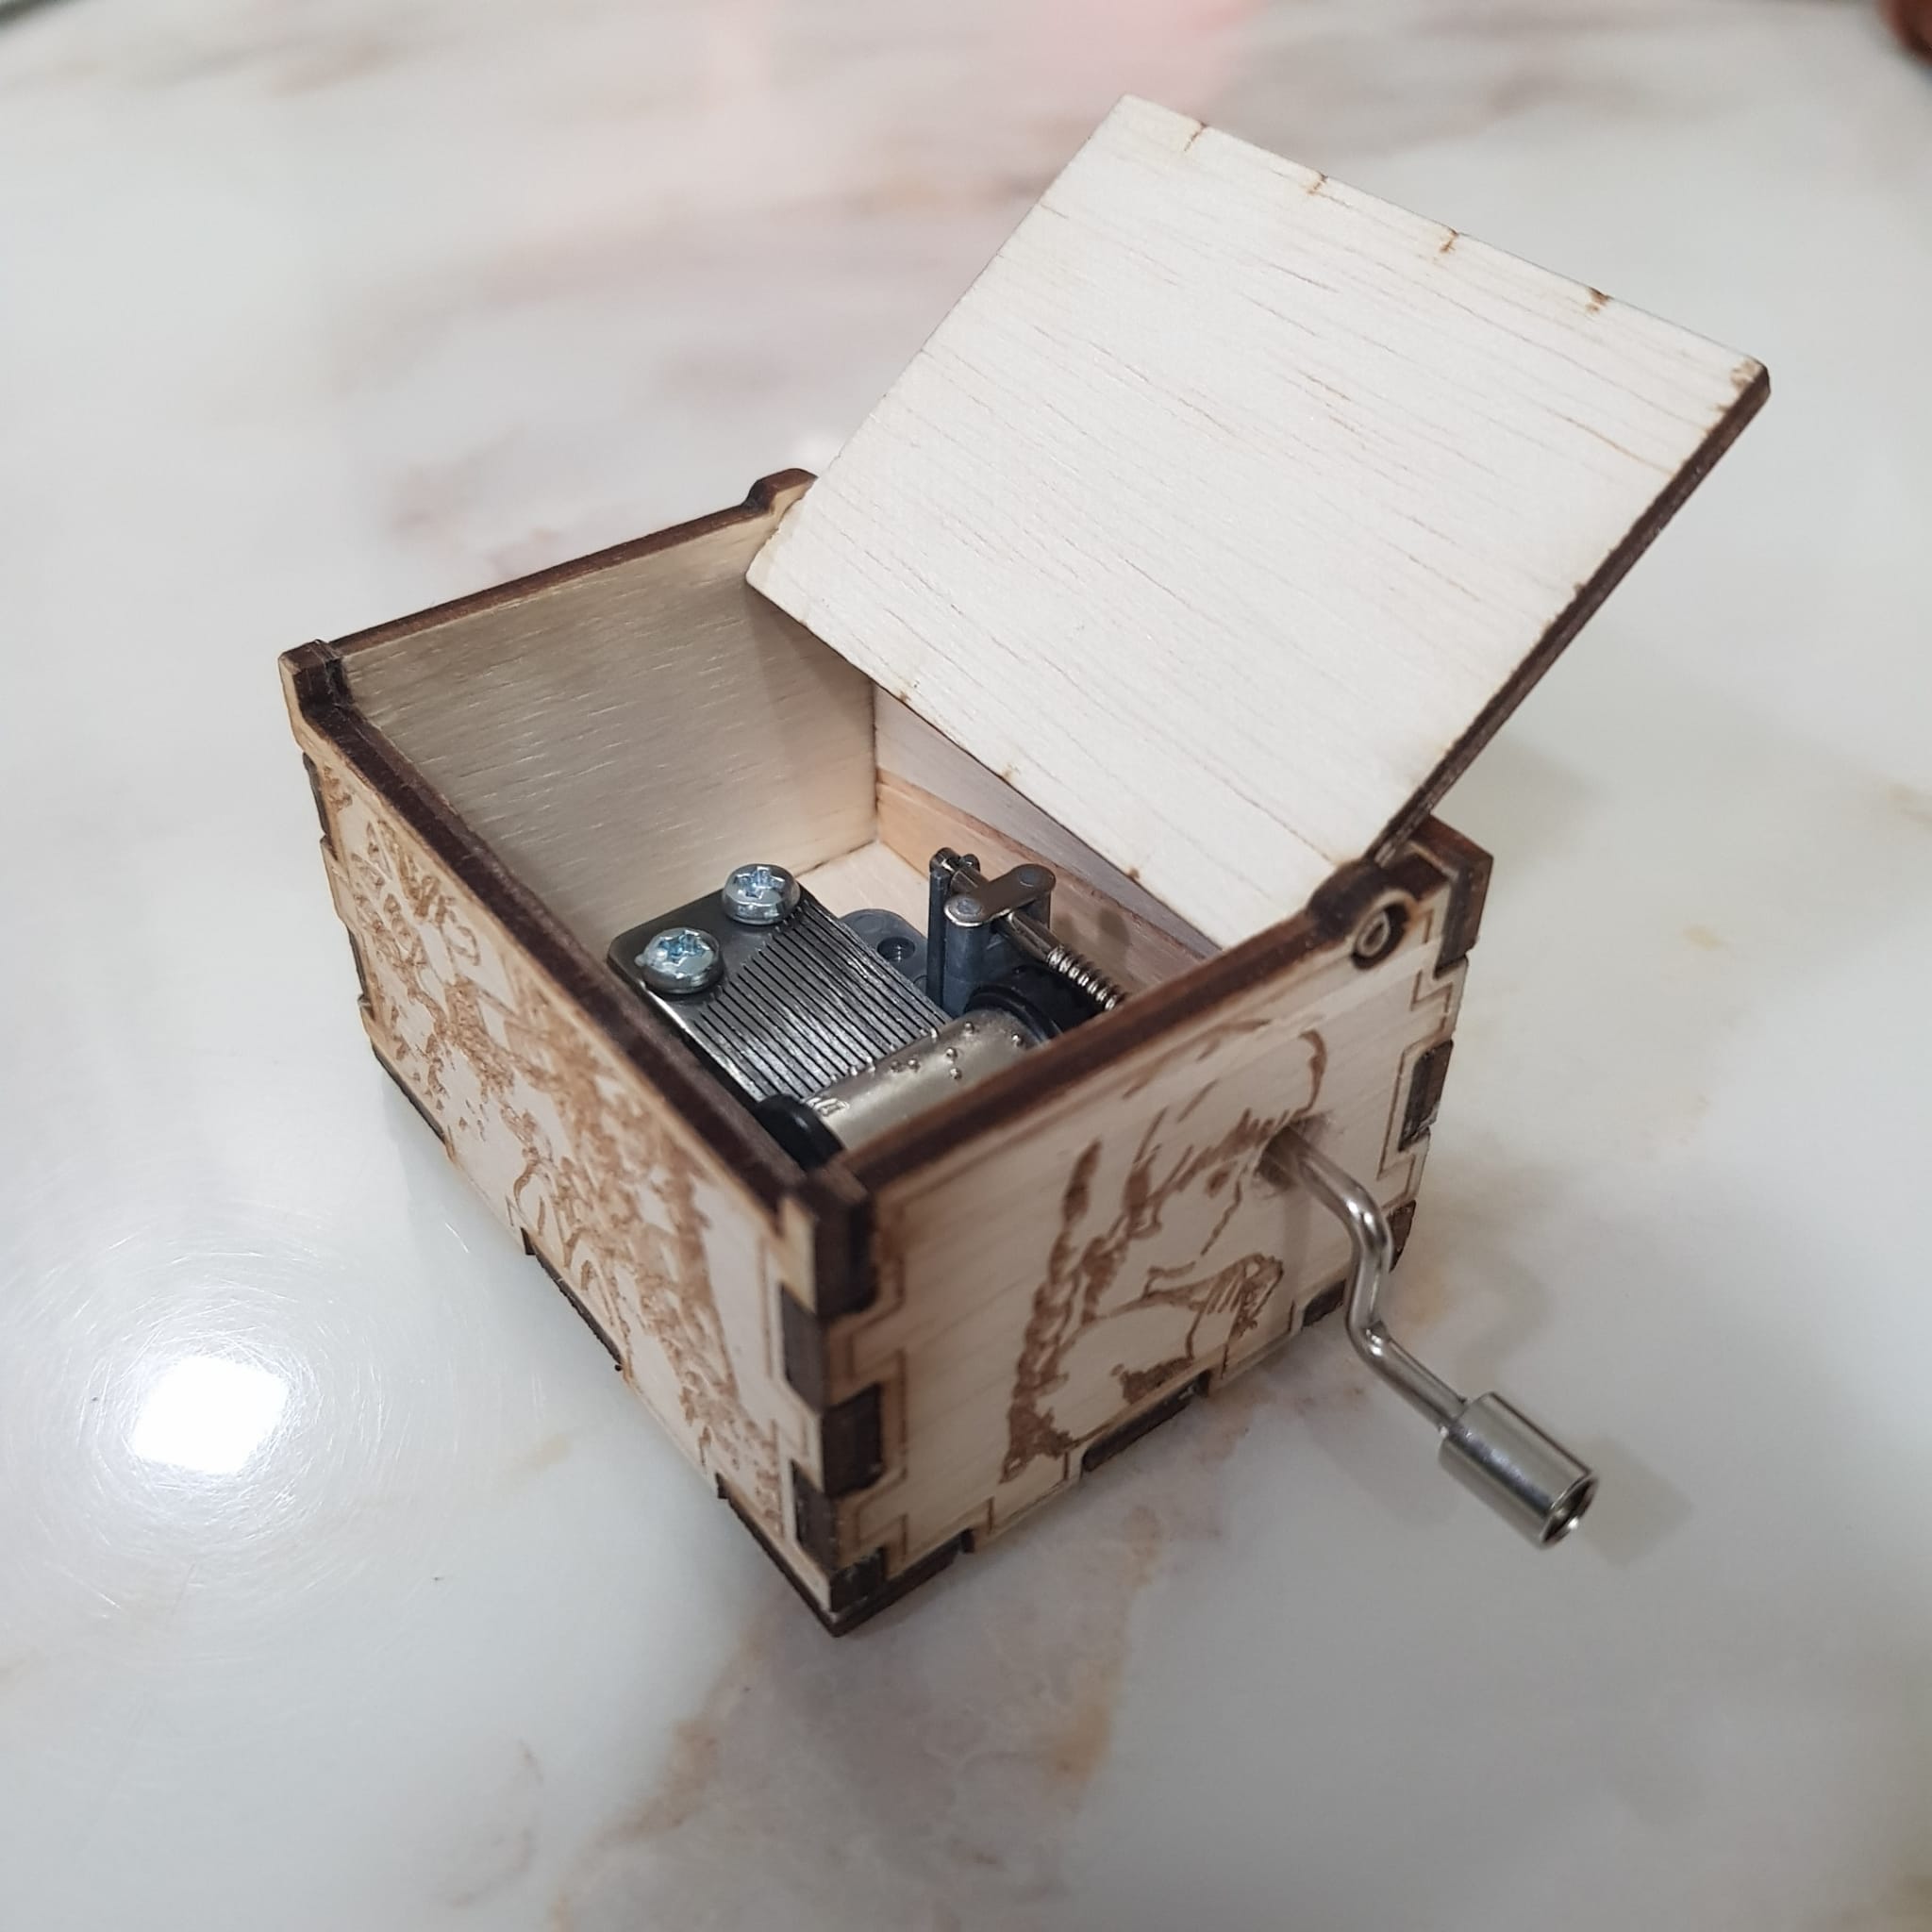
Finally! (Although idk why are there so many hatch failed notifs)
The process was quite a smooth one and I learned to use a mechanical hand drill which was cool.